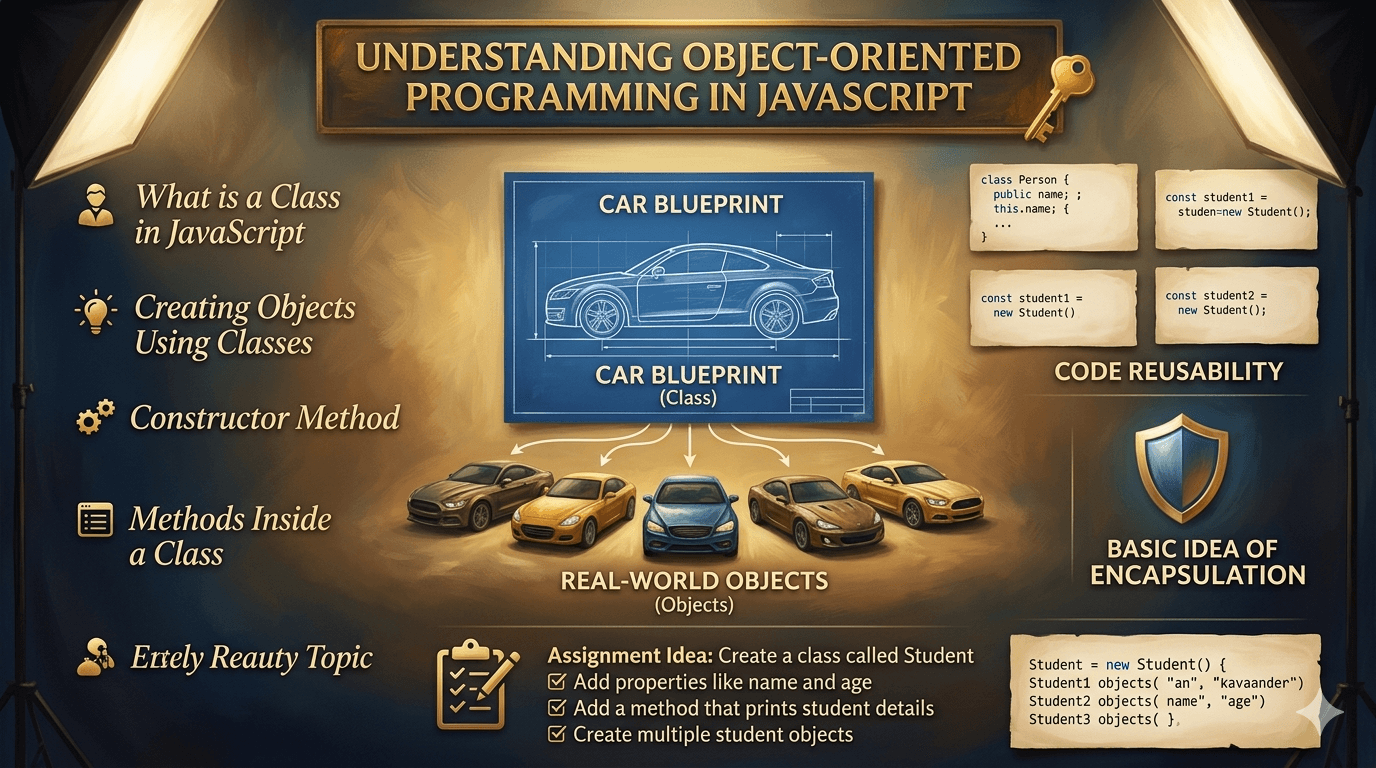
Understanding Object-Oriented Programming in JavaScript
Object-Oriented Programming (OOP) sounds scary at first, but the core ideas are actually very intuitive—especially if you think in terms of real-world things like cars, students, or users in an app.
In this article, we’ll walk through OOP in JavaScript step by step, using simple examples and analogies:
What OOP means
Blueprint → object analogy
What a class is in JavaScript
Creating objects using classes
The constructor method
Methods inside a class
Basic idea of encapsulation
A small assignment: build a
Studentclass
What Is Object-Oriented Programming (OOP)?
Object-Oriented Programming (OOP) is a way of organizing code around objects instead of just functions and data.
An object is a bundle of:
Data (called properties), and
Behavior (called methods, which are functions attached to the object).
OOP focuses on:
Modeling real-world entities (like
Car,Person,Student) in code.Keeping related data and behavior together.
Reusing code through classes and instances.
Real-World Analogy: Blueprint → Objects
Think of a car factory:
The blueprint describes:
What a car looks like
Parts it has (wheels, engine, seats)
What it can do (start, stop, accelerate)
From this one blueprint, the factory creates many cars.
In OOP terms:
The blueprint is a class.
Each car built from that blueprint is an object (also called an instance of the class).
So:
Class → definition/template
Object → actual thing created using that template
What Is a Class in JavaScript?
A class in JavaScript is a template for creating objects with the same structure and behavior.
Inside a class, you typically define:
The constructor (how objects are initialized)
Properties (data each object will have)
Methods (functions each object can use)
Basic class example: Car
class Car {
  constructor(brand, model) {
    this.brand = brand;
    this.model = model;
  }

  start() {
    console.log(`\({this.brand} \){this.model} is starting...`);
  }

  stop() {
    console.log(`\({this.brand} \){this.model} is stopping.`);
  }
}
Here:
Caris the class (blueprint).brandandmodelThese are the properties each car will have.startandstopare methods (behaviors).
Creating Objects Using Classes (Instantiating)
To create an object from a class, you use the new keyword.
const car1 = new Car("Toyota", "Corolla");
const car2 = new Car("Tesla", "Model 3");

car1.start(); // "Toyota Corolla is starting..."
car2.start(); // "Tesla Model 3 is starting..."
car1andcar2are different objects (instances) of theCarclass.They share the same structure and behavior, but can hold different data.
This is where reusability shines:
Write the class once.
Create as many objects as you like.
The Constructor Method
The constructor is a special method inside a class that runs when you create a new object.
class ClassName {
  constructor(parameter1, parameter2) {
    // initialization code
  }
}
constructoris a reserved name.It’s used to set up the initial state (properties) of the object.
Example: Person class
class Person {
  constructor(name, age, city) {
    this.name = name;
    this.age = age;
    this.city = city;
  }

  introduce() {
    console.log(`Hi, I'm \({this.name}, \){this.age} years old from ${this.city}.`);
  }
}

const person1 = new Person("Alice", 25, "Delhi");
const person2 = new Person("Rahul", 30, "Mumbai");

person1.introduce(); // "Hi, I'm Alice, 25 years old from Delhi."
person2.introduce(); // "Hi, I'm Rahul, 30 years old from Mumbai."
Methods Inside a Class
Methods are functions that belong to the class and operate on that object’s data.
Example: Student with methods
class Student {
  constructor(name, age, course) {
    this.name = name;
    this.age = age;
    this.course = course;
  }

  printDetails() {
    console.log(`Student: \({this.name}, Age: \){this.age}, Course: ${this.course}`);
  }

  celebrateBirthday() {
    this.age += 1;
    console.log(`Happy birthday, \({this.name}! You are now \){this.age}.`);
  }
}

const student1 = new Student("Neha", 19, "Computer Science");

student1.printDetails();     // "Student: Neha, Age: 19, Course: Computer Science"
student1.celebrateBirthday(); // "Happy birthday, Neha! You are now 20."
student1.printDetails();     // "Student: Neha, Age: 20, Course: Computer Science"
Key points:
Methods live inside the class body (not inside the constructor).
Inside methods,
thisrefers to the specific object calling the method.Methods help keep data + behavior together, which is core to OOP.
Basic Idea of Encapsulation
Encapsulation is about bundling data and methods together and hiding internal details as much as possible.
In simpler terms:
An object should protect its own data.
Other parts of your code should interact with the object through its methods, not by directly messing with every internal detail.
In our Student example:
name,age, andcourseare the data.printDetails()andcelebrateBirthday()are the behaviors related to that data.
Instead of writing:
student1.age = student1.age + 1;
console.log(student1.age);
We call:
student1.celebrateBirthday();
Benefits:
If you ever change how birthdays are handled (e.g., logging, validations), you only change it inside the class.
Outside code doesn’t need to know the details; it just calls the method.
In more advanced OOP, encapsulation involves access modifiers (like private, protected), but for now, just remember:
- Encapsulation = keeping related data and functions together, and exposing a clean, simple interface (methods) to the outside.
Another Simple Example: Car Blueprint Revisited
Let’s revisit our car analogy with a full mini example:
class Car {
  constructor(brand, model, year) {
    this.brand = brand;
    this.model = model;
    this.year = year;
    this.isRunning = false;
  }

  start() {
    if (!this.isRunning) {
      this.isRunning = true;
      console.log(`\({this.brand} \){this.model} started.`);
    } else {
      console.log(`\({this.brand} \){this.model} is already running.`);
    }
  }

  stop() {
    if (this.isRunning) {
      this.isRunning = false;
      console.log(`\({this.brand} \){this.model} stopped.`);
    } else {
      console.log(`\({this.brand} \){this.model} is already stopped.`);
    }
  }
}

const carA = new Car("Honda", "Civic", 2020);
const carB = new Car("Maruti", "Swift", 2018);

carA.start(); // "Honda Civic started."
carA.stop();  // "Honda Civic stopped."

carB.start(); // "Maruti Swift started."
The class defines what every car knows and can do.
Each instance (
carA,carB) has its own state (isRunning,brand,model,year).The methods enforce a simple encapsulated behavior (e.g., don’t start an already running car).
Assignment: Build a Student Class
Here’s a practical assignment you can copy into a .js file or console.
1. Create a class called Student
- Add properties
nameandageuse the constructor.
class Student {
  constructor(name, age) {
    this.name = name;
    this.age = age;
  }

  printDetails() {
    console.log(`Student: \({this.name}, Age: \){this.age}`);
  }
}
2. Create multiple student objects
const student1 = new Student("Rahul", 20);
const student2 = new Student("Sara", 22);
const student3 = new Student("Amit", 19);

student1.printDetails(); // "Student: Rahul, Age: 20"
student2.printDetails(); // "Student: Sara, Age: 22"
student3.printDetails(); // "Student: Amit, Age: 19"
3. Extend the assignment (optional)
class Student {
  constructor(name, age, course) {
    this.name = name;
    this.age = age;
    this.course = course;
  }

  printDetails() {
    console.log(`Student: \({this.name}, Age: \){this.age}, Course: ${this.course}`);
  }
}

const s1 = new Student("Rahul", 20, "Computer Science");
const s2 = new Student("Anita", 21, "Information Technology");

s1.printDetails();
s2.printDetails();
You can easily convert these into simple diagrams.
1. Blueprint
Box labeled Class: Car:
Properties:
brand,model,yearMethods:
start(),stop()
Arrows from the class to several smaller boxes:
car1: brand = Toyota, model = Corolla
car2: brand = Tesla, model = Model 3
car3: brand = Honda, model = City
Label this as: “One blueprint, many objects”.
2. Class → Instance relationship visual
On the left:
class Student { ... }On the right: several bubbles/boxes:
student1: { name: "Rahul", age: 20 }student2: { name: "Sara", age: 22 }
Arrows from the
Studentclass to each student object.
Label: “Class → Instance (Object)”.
Summary
OOP organizes your code around objects that combine data and behavior.
A class is a blueprint; an object is a real instance built from that blueprint.
The constructor sets up the initial state (properties) of each object.
Methods inside a class define what the objects can do.
Encapsulation is about keeping data + methods together and exposing a clean interface, improving reusability and maintainability.
You can model real-world concepts like
Car,Person, andStudentdirectly in your code using classes and objects.
Happy Coding!